A Scalar display shows the numeric value of each data point acquired for a channel. An example is shown here:
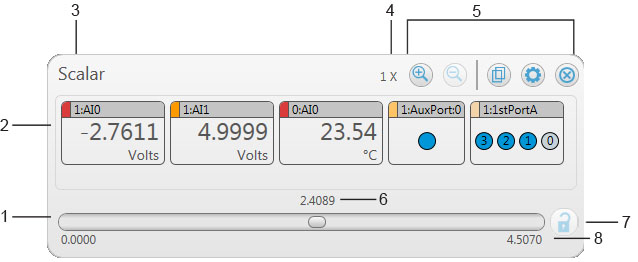
Refer to the callout numbers below for a description of each component on a Scalar display.
| Callout | Name | Description | ||||||||||
| 1 | Scrollbar | Slide left or right to select a specific data sample. The scrollbar is enabled during an acquisition if the display is in review mode, and after an acquisition stops. | ||||||||||
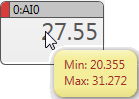
| 2 | Channel data value | The value of the data sample selected with the scrollbar. The displayed unit is set on the Channels tab.
| ||||||||||
| 3 | Display title | The title of the display (refer to Display Title in Configuring Display Settings). | ||||||||||
| 4 | Zoom magnification | Increases (zoom out) or decreases (zoom in) the amount of data that is viewable on the display. The range of viewable data is based on the location of the scrollbar thumb.
For example, if the X-axis Display Mode is set to Sample Count, and you acquire 4963 samples, the Scalar display scrollbar looks like this – all samples (0 to 4962) are viewable using the scrollbar:
| ||||||||||
| 5 | Icons | Icons used to zoom in or out, customize the display, and to remove the display from the Display Panel.
| ||||||||||
| 6 | Time acquired or sample number | The time (relative or absolute) when the displayed sample(s) was acquired, or the number of the sample. You set the display mode on the Preferences dialog box. | ||||||||||
| 7 | Toggle live /review mode | Click on the lock icon to toggle the display between live and review mode while an acquisition is running.
| ||||||||||
| 8 | X-axis | The absolute time, relative time, or sample count of the acquisition.
|
If the Scalar display is not wide enough or tall enough to show multiple channels, a vertical or horizontal scrollbar becomes available as needed.
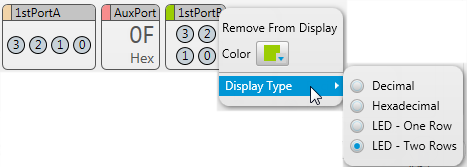
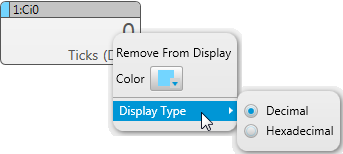
Right-click on the display to show a menu with the following options:
Right-click on the scrollbar to show the following menu:
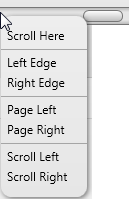
This menu is only available when an acquisition is running in review mode ![]() and when DAQami is idle.
and when DAQami is idle.